The quickest and easiest way to repair leather and suede
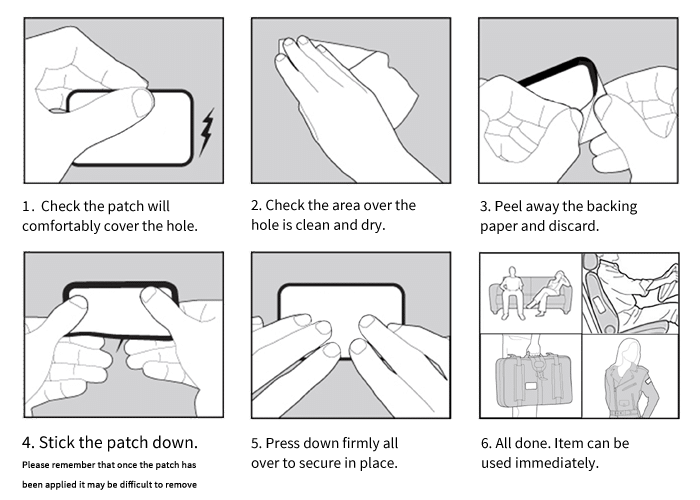
Our illustrated step-by-step guide below shows you how to easily repair any type of hole, rip, tear or damage using a MastaPlasta patch. Other repair kits are quite time-consuming and involve the use of tools, chemicals and heat. Our self-adhesive patches offer a simple peel-and-stick solution and can be applied in seconds.
Can be used on all natural/synthetic leathers and suedes plus vinyl and many other upholstery fabrics. Please note, MastaPlastas are not suitable for machine-washing.
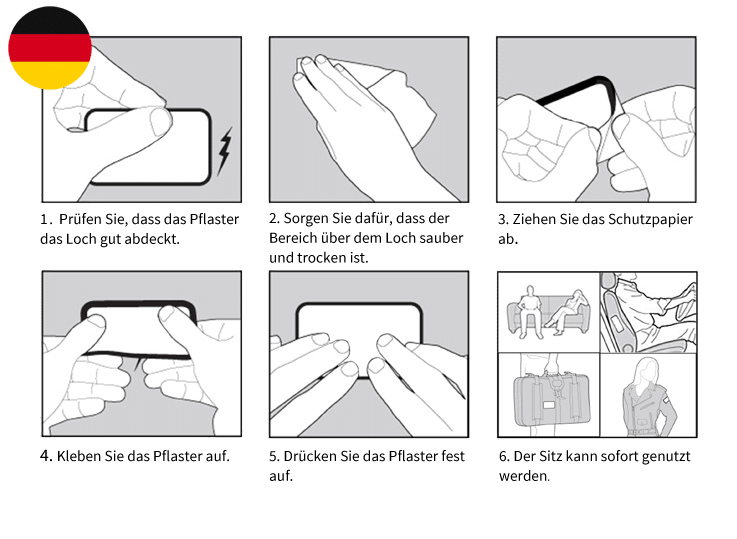
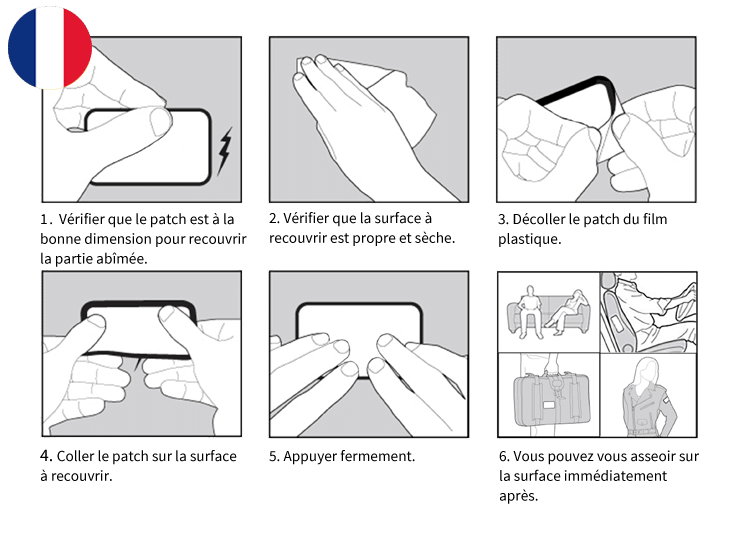
Follow these really simple steps to apply our patches:
Scroll right for Instructions in different languages
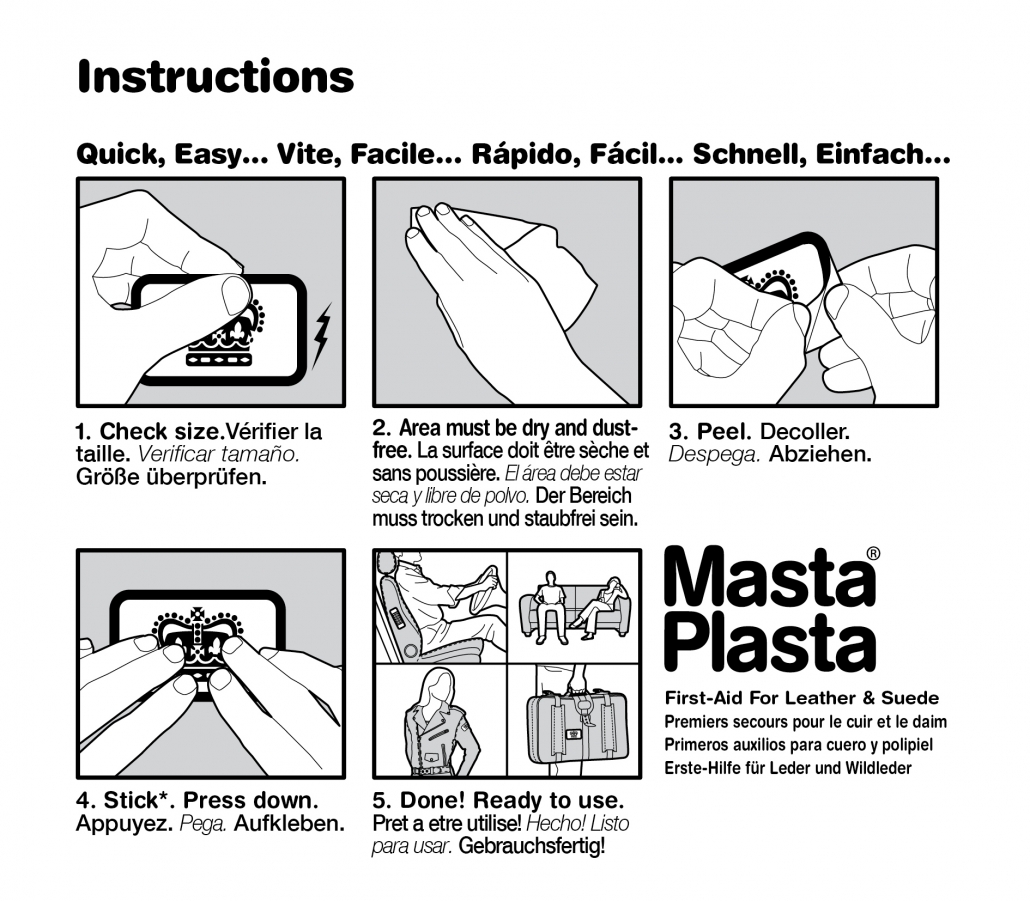
It is important to note that the backing adhesive is very strong and once the patch has been applied it may be difficult to remove. MastaPlasta Ltd cannot accept responsibility for any damage that may be caused to any substrate surface that the patch has been applied to or its subsequent removal by physical or chemical means.
Top Tip 1
The patch does not have to be centered over the hole. As long as the hole is well covered by the patch, try to square the patch up on the item to be repaired. That way it looks like it was always meant to be there!
Top Tip 2
MastaPlastas are specially designed so they do not have to match the underlying fabric – the engineered super-thin edge helps give it a smooth finish so the patches look like embossed leather – part of the design of the sofa or jacket.
Top Tip 3
When cutting the XL MastaPlastas, please use your sharpest scissors to get a clean-cut edge.
Top Tip 4
Take care over bumpy seams and folds; a patch should follow the contours of the fabric beneath. When the item is in use, pressures exerted on a poorly applied patch may put undue stress on the bonding.
Top Tip 5
When applying on an area subject to a lot of friction, make sure the edges are positioned where they are least likely to be subject to constant rubbing.
 Made in England. Patent No: GB2461518 | Registered Trademark N°012504205
